# Shap-E
[[open-in-colab]]
Shap-E is a conditional model for generating 3D assets which could be used for video game development, interior design, and architecture. It is trained on a large dataset of 3D assets, and post-processed to render more views of each object and produce 16K instead of 4K point clouds. The Shap-E model is trained in two steps:
1. an encoder accepts the point clouds and rendered views of a 3D asset and outputs the parameters of implicit functions that represent the asset
2. a diffusion model is trained on the latents produced by the encoder to generate either neural radiance fields (NeRFs) or a textured 3D mesh, making it easier to render and use the 3D asset in downstream applications
This guide will show you how to use Shap-E to start generating your own 3D assets!
Before you begin, make sure you have the following libraries installed:
```py
# uncomment to install the necessary libraries in Colab
#!pip install -q diffusers transformers accelerate trimesh
```
## Text-to-3D
To generate a gif of a 3D object, pass a text prompt to the [`ShapEPipeline`]. The pipeline generates a list of image frames which are used to create the 3D object.
```py
import torch
from diffusers import ShapEPipeline
device = torch.device("cuda" if torch.cuda.is_available() else "cpu")
pipe = ShapEPipeline.from_pretrained("openai/shap-e", torch_dtype=torch.float16, variant="fp16")
pipe = pipe.to(device)
guidance_scale = 15.0
prompt = ["A firecracker", "A birthday cupcake"]
images = pipe(
prompt,
guidance_scale=guidance_scale,
num_inference_steps=64,
frame_size=256,
).images
```
Now use the [`~utils.export_to_gif`] function to turn the list of image frames into a gif of the 3D object.
```py
from diffusers.utils import export_to_gif
export_to_gif(images[0], "firecracker_3d.gif")
export_to_gif(images[1], "cake_3d.gif")
```
 prompt = "A firecracker"
 prompt = "A birthday cupcake"
## Image-to-3D
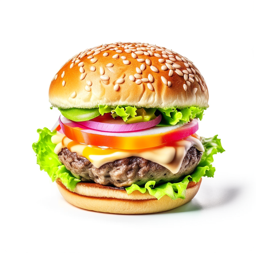
To generate a 3D object from another image, use the [`ShapEImg2ImgPipeline`]. You can use an existing image or generate an entirely new one. Let's use the [Kandinsky 2.1](../api/pipelines/kandinsky) model to generate a new image.
```py
from diffusers import DiffusionPipeline
import torch
prior_pipeline = DiffusionPipeline.from_pretrained("kandinsky-community/kandinsky-2-1-prior", torch_dtype=torch.float16, use_safetensors=True).to("cuda")
pipeline = DiffusionPipeline.from_pretrained("kandinsky-community/kandinsky-2-1", torch_dtype=torch.float16, use_safetensors=True).to("cuda")
prompt = "A cheeseburger, white background"
image_embeds, negative_image_embeds = prior_pipeline(prompt, guidance_scale=1.0).to_tuple()
image = pipeline(
prompt,
image_embeds=image_embeds,
negative_image_embeds=negative_image_embeds,
).images[0]
image.save("burger.png")
```
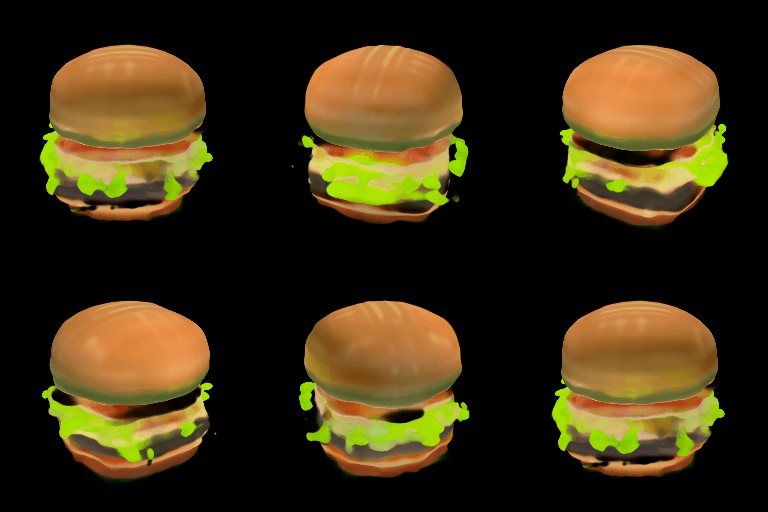
Pass the cheeseburger to the [`ShapEImg2ImgPipeline`] to generate a 3D representation of it.
```py
from PIL import Image
from diffusers import ShapEImg2ImgPipeline
from diffusers.utils import export_to_gif
pipe = ShapEImg2ImgPipeline.from_pretrained("openai/shap-e-img2img", torch_dtype=torch.float16, variant="fp16").to("cuda")
guidance_scale = 3.0
image = Image.open("burger.png").resize((256, 256))
images = pipe(
image,
guidance_scale=guidance_scale,
num_inference_steps=64,
frame_size=256,
).images
gif_path = export_to_gif(images[0], "burger_3d.gif")
```
 cheeseburger
 3D cheeseburger
## Generate mesh
Shap-E is a flexible model that can also generate textured mesh outputs to be rendered for downstream applications. In this example, you'll convert the output into a `glb` file because the 🤗 Datasets library supports mesh visualization of `glb` files which can be rendered by the [Dataset viewer](https://huggingface.co/docs/hub/datasets-viewer#dataset-preview).
You can generate mesh outputs for both the [`ShapEPipeline`] and [`ShapEImg2ImgPipeline`] by specifying the `output_type` parameter as `"mesh"`:
```py
import torch
from diffusers import ShapEPipeline
device = torch.device("cuda" if torch.cuda.is_available() else "cpu")
pipe = ShapEPipeline.from_pretrained("openai/shap-e", torch_dtype=torch.float16, variant="fp16")
pipe = pipe.to(device)
guidance_scale = 15.0
prompt = "A birthday cupcake"
images = pipe(prompt, guidance_scale=guidance_scale, num_inference_steps=64, frame_size=256, output_type="mesh").images
```
Use the [`~utils.export_to_ply`] function to save the mesh output as a `ply` file:
You can optionally save the mesh output as an `obj` file with the [`~utils.export_to_obj`] function. The ability to save the mesh output in a variety of formats makes it more flexible for downstream usage!
```py
from diffusers.utils import export_to_ply
ply_path = export_to_ply(images[0], "3d_cake.ply")
print(f"Saved to folder: {ply_path}")
```
Then you can convert the `ply` file to a `glb` file with the trimesh library:
```py
import trimesh
mesh = trimesh.load("3d_cake.ply")
mesh_export = mesh.export("3d_cake.glb", file_type="glb")
```
By default, the mesh output is focused from the bottom viewpoint but you can change the default viewpoint by applying a rotation transform:
```py
import trimesh
import numpy as np
mesh = trimesh.load("3d_cake.ply")
rot = trimesh.transformations.rotation_matrix(-np.pi / 2, [1, 0, 0])
mesh = mesh.apply_transform(rot)
mesh_export = mesh.export("3d_cake.glb", file_type="glb")
```
Upload the mesh file to your dataset repository to visualize it with the Dataset viewer!


