Spaces:
Configuration error

Run the code on the custom dataset
Please inform me if there is any problem to run the code on your own data.
If your data already have SMPL parameters, just export the SMPL parameters and SMPL vertices to two directories
paramsandvertices. If you do not have SMPL parameters, you could take the following ways:- For a multi-view video, you could estimate SMPL parameters using https://github.com/zju3dv/EasyMocap. The output parameter files can be processed using the script.
- For a monocular video, you could estimate SMPL parameters using https://github.com/thmoa/videoavatars. The output
reconstructed_poses.hdf5file can be processed following the instruction.
Organize the dataset as the following structure. Please refer to
CoreView_392of ZJU-MoCap dataset as an example.
Theannots.npyis generated by get_annots.py. This code is used here to show the format ofannots.npy. Please revise it according to your input camera parameters and image paths.
Example camera files can be found in camera_params.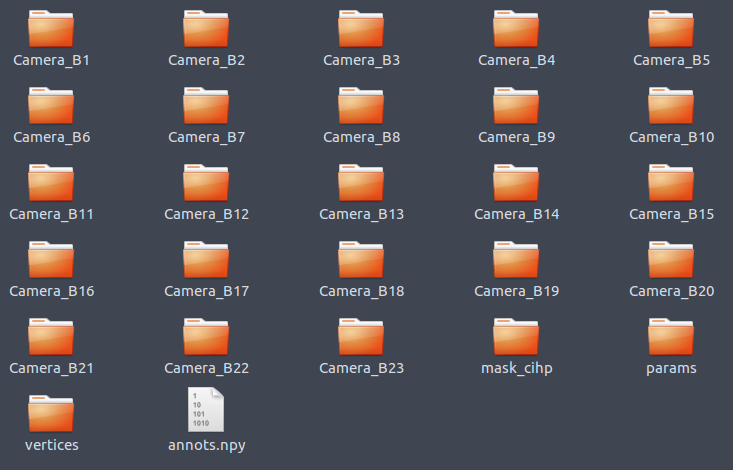
├── /path/to/dataset
│   ├── annots.npy  // Store the camera parameters and image paths.
│   ├── params
│   │   ├── 0.npy
│   │   ├── ...
│   │   ├── 1234.npy
│   ├── vertices
│   │   ├── 0.npy
│   │   ├── ...
│   │   ├── 1234.npy
│   ├── Camera_B1  // Store the images. No restrictions on the directory name.
│   │   ├── 00000.jpg
│   │   ├── ...
│   ├── Camera_B2
│   │   ├── 00000.jpg
│   │   ├── ...
│   ├── ...
│   ├── Camera_B23
│   │   ├── 00000.jpg
│   │   ├── ...
│   ├── mask_cihp  // Store the foreground segmentation. The directory name must be "mask_cihp".
│   │   ├── Camera_B1
│   │   │   ├── 00000.png
│   │   │   ├── ...
│   │   ├── Camera_B2
│   │   │   ├── 00000.png
│   │   │   ├── ...
│   │   ├── ...
│   │   ├── Camera_B23
│   │   │   ├── 00000.png
│   │   │   ├── ...
Use
configs/multi_view_custom.yamlorconfigs/monocular_custom.yamlfor training. Note that you need to revise thetrain_datasetandtest_datasetin the yaml file.# train from scratch python train_net.py --cfg_file configs/multi_view_custom.yaml exp_name <exp_name> resume False # resume training python train_net.py --cfg_file configs/multi_view_custom.yaml exp_name <exp_name> resume TrueRevise the
num_train_frameandtraining_viewincustom.yamlaccording to your data. Or you could specify it in the command line:python train_net.py --cfg_file configs/custom.yaml exp_name <exp_name> num_train_frame 1000 training_view "0, 1, 2, 3" resume FalseVisualization. Please refer to Visualization on ZJU-MoCap as an example.
- Visualize novel views of single frame.
python run.py --type visualize --cfg_file configs/multi_view_custom.yaml exp_name <exp_name> vis_novel_view True num_render_views 100- Visualize views of dynamic humans with fixed camera
python run.py --type visualize --cfg_file configs/multi_view_custom.yaml exp_name <exp_name> vis_novel_pose True num_render_frame 1000 num_render_views 1- Visualize views of dynamic humans with rotated camera
python run.py --type visualize --cfg_file configs/multi_view_custom.yaml exp_name <exp_name> vis_novel_pose True num_render_frame 1000- Visualize mesh.
mesh_this the iso-surface threshold of Marching Cube Algorithm.
# generate meshes
python run.py --type visualize --cfg_file configs/multi_view_custom.yaml exp_name <exp_name> vis_mesh True mesh_th 10
# visualize a specific mesh
python tools/render_mesh.py --exp_name <exp_name> --dataset zju_mocap --mesh_ind 0
